

Climate widget question - what is a Heating input? Is it not the Thermometer?
Can someone explain exactly how the climate widget is supposed to work.
I see there are seven sections
- Heating
- Cooling
- Thermometers
- Humidification
- Dehumidification
- Hygrometers
- Ventilation
I also see that for the Heating, Cooling, Humidification, Dehumidification and Ventilation sections you can set ONE input and MULTIPLE outputs
Also that for the Thermometer and Hygrometer, you can set ONE device and also specify the way that section determines an output.
So, to me, it appears that the first three are joined, the second three are joined and the last is all on it's own.
For my question, lets just consider Heating...
It APPEARS that for heating the first thing we do is define a Thermometer. You can select a registered temperature sensor from the "Themometers" drop down and then choose how that sensor will be processed. There are FIVE options on the user interface here : "minimum", "maximum", "average", "last" and "Custom". The "Help" screens on the widget say that there are FOUR options quoting "LAST", "AVARAGE" (which I understand to be a the misspelt word "AVERAGE"), "HIGH" and "LOW" (which I interpret as maximum and minimum). I am assuming that Average, Maximum and Minimum all relate to having multiple temperature sensors in the section where it can do calculations based on multiple values from the multiple sensors.
If my assumptions are correct here it means that the "Thermometers" section is effectively how the climate widget will calculate the CURRENT value of temperature for the sensors defined.
I note that from the "Program Week" tab, it is easy to define a set of desired temperatures running across each day.
However, the bit do not yet understand is the "Heating" section of the screen. The "Heating" section appears to require "inputs" and "outputs"
Now, with regard to the "outputs" I understand that this could be *(say) a thermostatic radiator valve to which the Ziapbox generates an "OUTPUT" message which could tell the valve to set itself to a required SET temperature. I suppose it could also be a signal to tell the boiler to turn ON to generate the heat that will be sent to the radiator (anyone confirm that?)
What mystifies me is what the "Input" is supposed to be for the "Heating" section. Surely I want to send a SET temperature to the radiator (the Output) based on the current setting from the Thermometers section so I fail to see what other "Input" is needed
Does anyone know how the "Input" becomes part of the logic?
I have tried specifying various sensors but always get an error message:
Input endpoint ({number}) does not exist or doesn't have usable output cluster so it can't be used as input.
Grateful for any assistance
Thanks in advance
/Marcus
 The same question
I agree, that needs clarification indeed. I think, that the "other" input could be z-wave thermostat device...
I made some tests today with "ventilation", and i can't get any sense about it. Designer could enlighten up a little bit, where his thoughts are going.
I agree, that needs clarification indeed. I think, that the "other" input could be z-wave thermostat device...
I made some tests today with "ventilation", and i can't get any sense about it. Designer could enlighten up a little bit, where his thoughts are going.
Hello Marcus,
We are aware that we are lacking on documentation and we are
working on improving this constantly with our knowledge base for example. Your post is long so please tell me if I will miss something.
Heating outputs - used for controlling heating devices, air
conditions and etc. by using actuators. For example, if you would like to
control radiator you can use battery powered thermostatic valve, with built in
wireless module for communication with Zipabox, or you can use regular
thermostatic valve powered by electrical current and use actuator switches
which are able to communicate with Zibabox and control those valves. Here you
can choose devices like actuators or electrical valves, or virtual devices (e.g.
Infra-Red codes which can turn on/off your heating body) which you would like
to include to virtual zone/room.
Heating inputs -
special (level input) devices for manually setting desired heating point of
virtual zone. For example, with mounted thermostat which support common
communication protocols (ZigBee, Z-wave, etc.) set temperature point in which
heating will turn On/Off.
Cooling outputs - used for controlling cooling devices, air
conditions and etc. by using actuators. For example, if you like to control
radiator you can use battery powered thermostatic valve, with built in wireless
module for communication with Zipabox, or you can use regular thermostatic
valve powered by electrical current and use actuator switches which are able to
communicate with Zibabox and control those valves. Here you can choose devices
like actuators or electrical valves, or virtual devices (e.g. Infra-Red codes
which can turn on/off your cooling body) which you would like to include to
virtual zone/room.
Cooling inputs - special (level input) devices for manually
setting desired cooling point of virtual zone. For example, with mounted
thermostat which support common communication protocols (ZigBee, Z-wave, etc.)
set temperature point in which cooling will turn On/Off.
Thermometers - used for acquiring information about current
room/zone temperature from one or more thermometers.
FUNCTION
Function is divided in four groups:
LAST - user can use last value provided by any thermometer
as the current temperature where battery operated thermometers are sending info
about temperature occasionally (energy saving).
AVERAGE - average thermometers are calibrated differently,
most precise value would be average number of all the values received from the
thermometers within one room
HIGH - uses highest temperature value sent from any temperature
meter
LOW - uses lowest temperature sent from any temperature
meter
MANUAL CONTROL
Run program: click on icon. Climate is operated by
preprogrammed settings
Until next period: click on icon. Climate is operated by
manually adjusted settings but, it will go back to previously preprogrammed
mode once the mode change is done by scheduler. Example, if thermostat is
adjusted manually at 2 pm and thermostat is scheduled to go in comfort mode at
6 pm it will go to comfort mode at 6 pm as scheduled.
Permanent hold: click on icon. Climate is operated by manual
settings until changed by user.
Hold for: click on icon to pop up window where exact amount
of time can be set for operating with manual settings. Afterwards, scheduled
settings starts.
AUTOMATIC CONTROL
Automatic temperature control is made by scheduler activating
climate mods at desired time of day through whole week. To create scheduler
temperature control, click on settings icon in upper right corner of Climate
widget. From here daily and weekly scheduler can be made.
PROGRAM TODAY - Program today is used for temperature
adjustment on daily basis. Click and move border between cooling (blue) and
set_point tolerance (green), heating (orange) and set_point tolerance (green)
up or down for temperature adjustment. Then, click on save button.
PROGRAM WEEK - Weekly program is used for temperature
adjustment on weekly basis. Here scheduler for weekly temperature control is
made. Select field in a table that is in desired time of a day. Each field
can then be marked with corresponding color that represents climate mod. When
selection is made new window pops up with a choice for climate mod.
Perhaps Zipato, as all the other serious company do, could take the time to write a user manual...
Perhaps Zipato, as all the other serious company do, could take the time to write a user manual...
@Antonio, This is a good response
I can see that "Heating" and "Cooling" are opposites and need an datum (Temperature) from which to either "heat" or "cool".
I can also see that "Humidification" and "Dehumidification" are opposites and need a datum (Humidity) from which to either "humidify" or "De-humidify".
As Jki mentions, what about "Ventilation". There are only OUTPUTS and INPUT. How is this supposed to work?
By the way, shouldn't that response (with the ventilation bit added) but put into the help system. It is much better than the "nothing" we currently have ;)
/Marcus
Ventilation is usually configured with on and off switches. We have left it like that for now, you configure it further on with Ventilation inputs or Rules. We can discuss it further at our Ideas category.
Ventilation is usually configured with on and off switches. We have left it like that for now, you configure it further on with Ventilation inputs or Rules. We can discuss it further at our Ideas category.
If I want to create "ventilation climate device", it creates normal thermostat without any control option for ventilation. I'd like to control fan speeds (there are dimmers). Input for ventilation could be time of day, humidity and temperature. Perhaps some sensor also.
If I want to create "ventilation climate device", it creates normal thermostat without any control option for ventilation. I'd like to control fan speeds (there are dimmers). Input for ventilation could be time of day, humidity and temperature. Perhaps some sensor also.
I used other systems and it was so easy to control a thermostat:
1. You added the device. The system knew it was a thermostat.
2. The system showed you the temperature.
3. The system allowed you to change the set point.
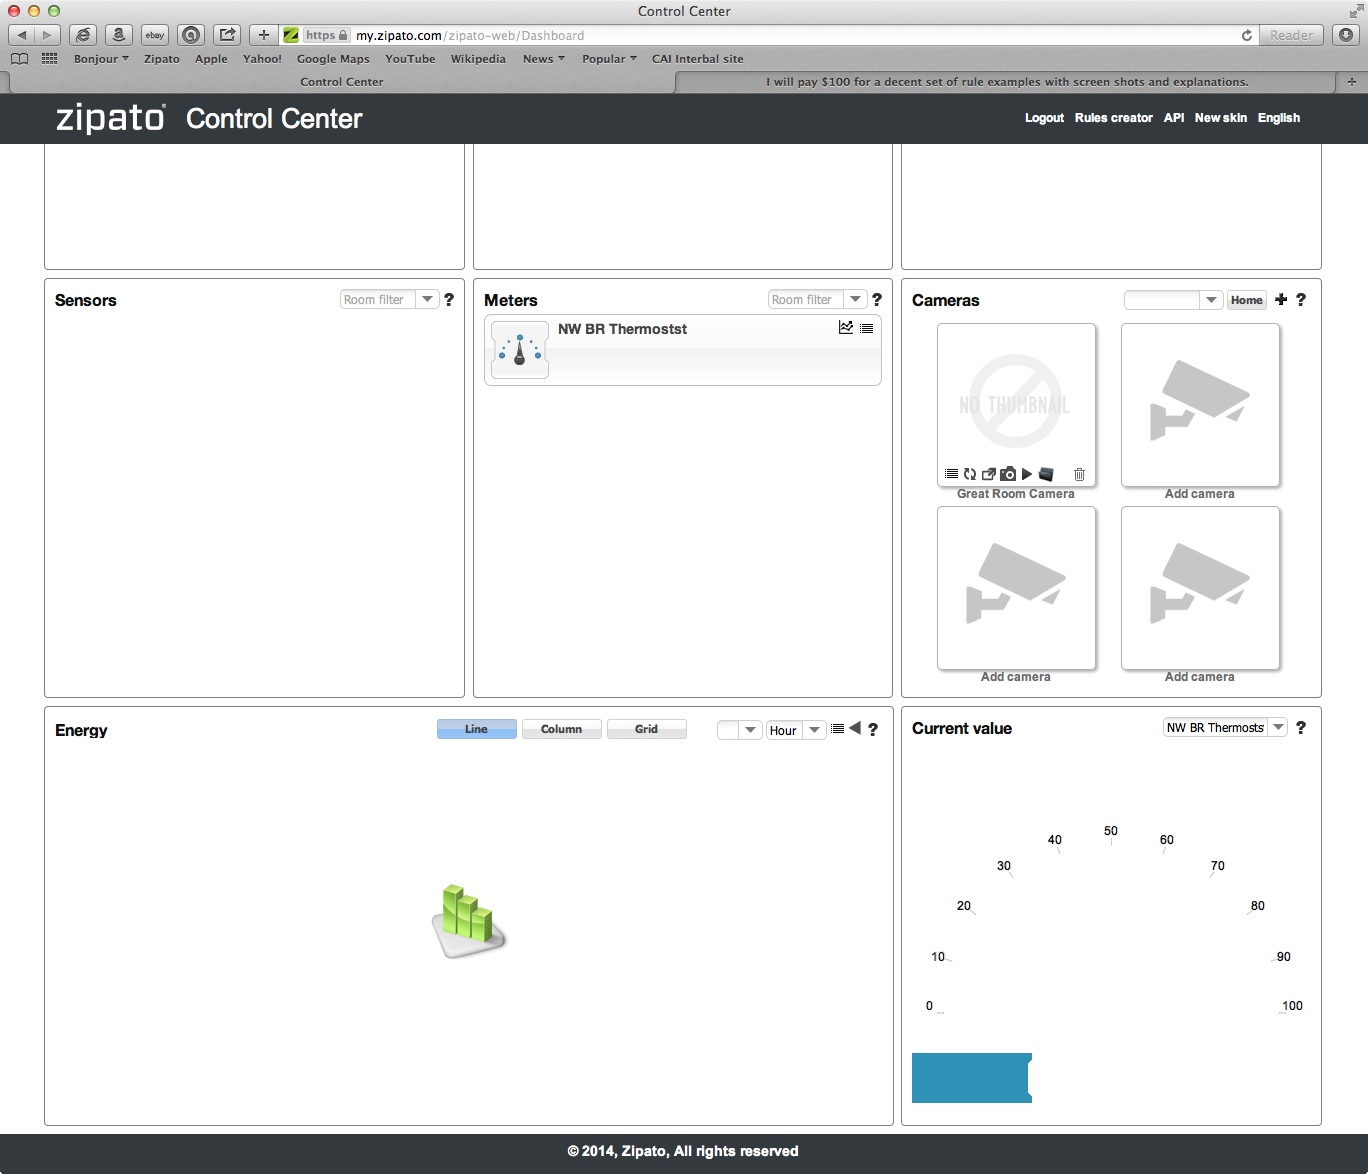
So far with Zipato, I have been able to add the thermostat as a device. I cannot get it to show the current temperature. I cannot get it to change the set point, nor change the mode from "Run" to "Away." It is a Z-wave device, an RCS Technology model TZ45R thermostat. Zipato is creating a log of information. See two attached screen shots.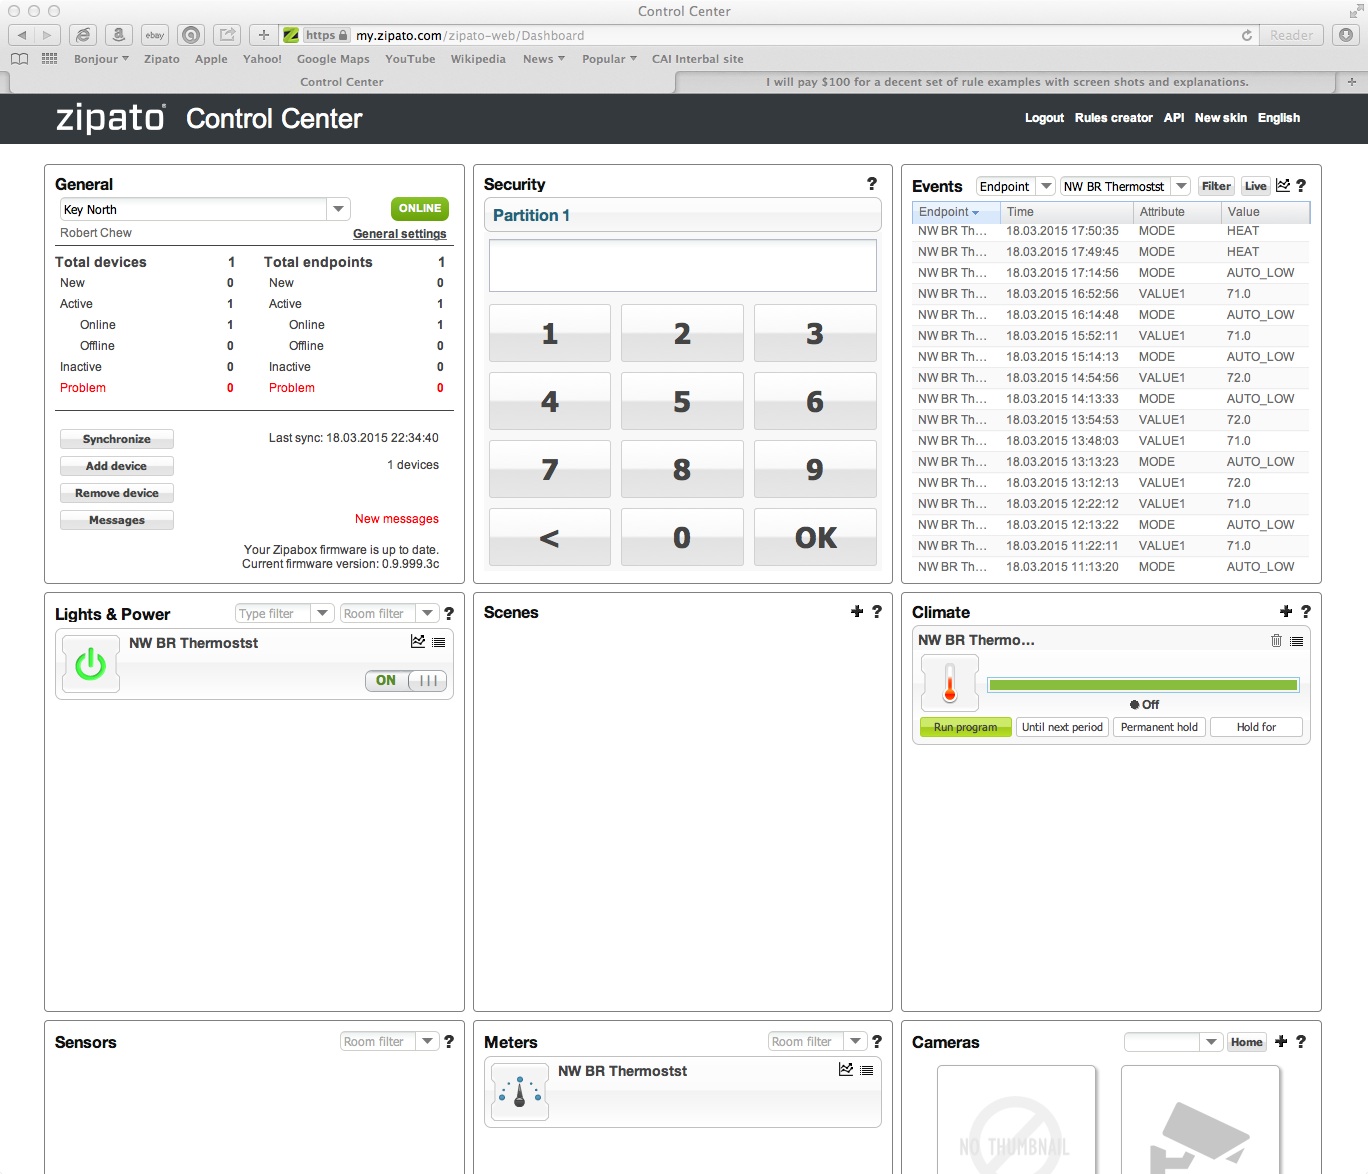
I used other systems and it was so easy to control a thermostat:
1. You added the device. The system knew it was a thermostat.
2. The system showed you the temperature.
3. The system allowed you to change the set point.
So far with Zipato, I have been able to add the thermostat as a device. I cannot get it to show the current temperature. I cannot get it to change the set point, nor change the mode from "Run" to "Away." It is a Z-wave device, an RCS Technology model TZ45R thermostat. Zipato is creating a log of information. See two attached screen shots.

Hello Robert,
It is strongly advised to use new web dashboard for configuring Virtual thermostats.
Thermostat model you are mentioning is not yet fully supported.
Hello Robert,
It is strongly advised to use new web dashboard for configuring Virtual thermostats.
Thermostat model you are mentioning is not yet fully supported.
hello
how to use humitidy function?
There is no programmation avialable, no point to programme?
I have a VMC that can control high speed/low speed. I want to control humidity with zipabox, and i thinks normaly this module is for that.
Thanks.
hello
how to use humitidy function?
There is no programmation avialable, no point to programme?
I have a VMC that can control high speed/low speed. I want to control humidity with zipabox, and i thinks normaly this module is for that.
Thanks.
Replies have been locked on this page!